
Levitation Photography Produces Stunning Images
December 5, 2022
A lesson on “levitation photography” and subsequent assignment resulted in exceptional images captured and edited by Huntington High School students.
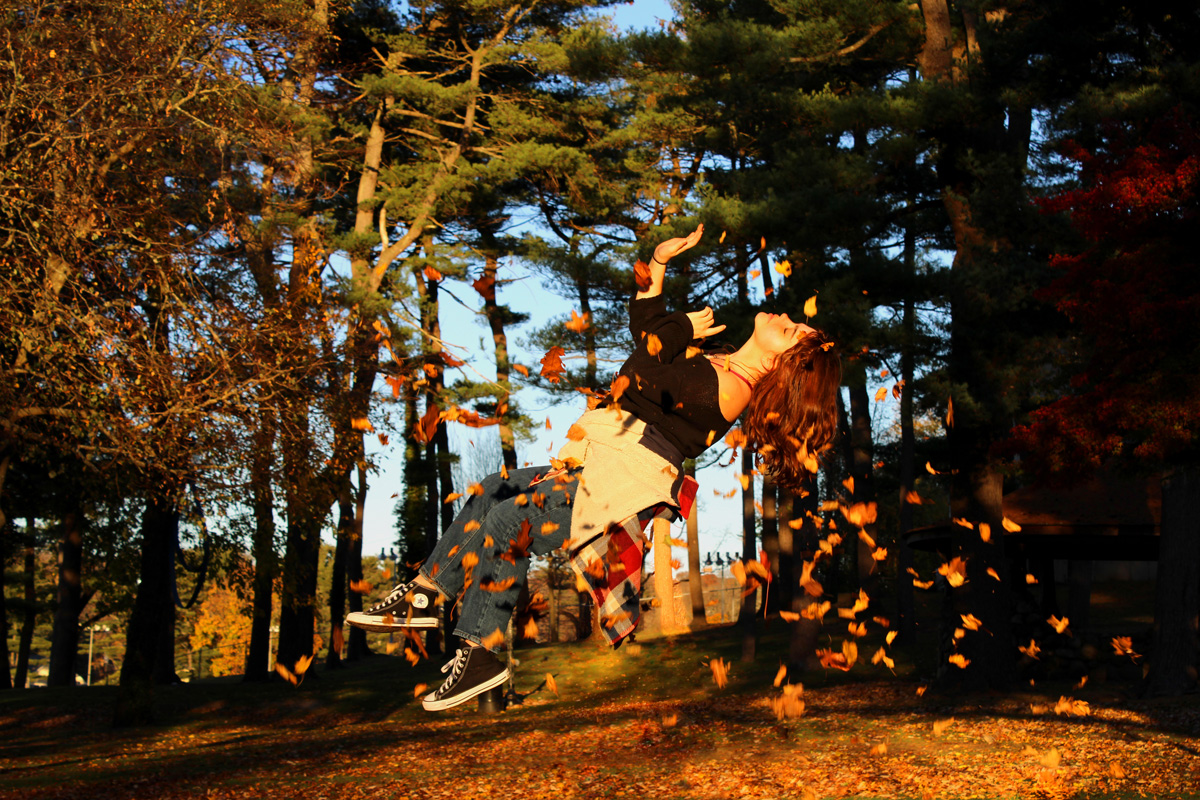
Art teacher Pamela Piffard explained that “levitation photography encompasses any image featuring a person or object floating or flying. Defying the laws of gravity, these photographs seem to show subjects suspended [in] mid-air.”
Students learned that creating a surreal portrait exemplifies the creative process. The entire experience, from planning to set-up to shooting to processing is a methodical, creative endeavor.
“Levitation photos are a fun and not overly complicated style of photography,” Mrs. Piffard said. “But if you really want to create believable levitation shots, there are some tips and tricks that will really help.”
Here’s what students were told they needed to complete the assignment:
• Creativity and imagination
• Camera or camera phone
• A tripod
• A model
• A support (step stool, chair, person to lift, etc.)
• One photo of the background
• Four varied photos of the model in the exact same background in a levitating position without moving the camera between shots.
• Photoshop software
Mrs. Piffard showed students numerous sample images taken during the various steps. The teenagers were provided with technical details they needed for the shoot. For example, they were told to use a fast shutter speed; fast enough to freeze motion, such as 1/125th of a second or faster.
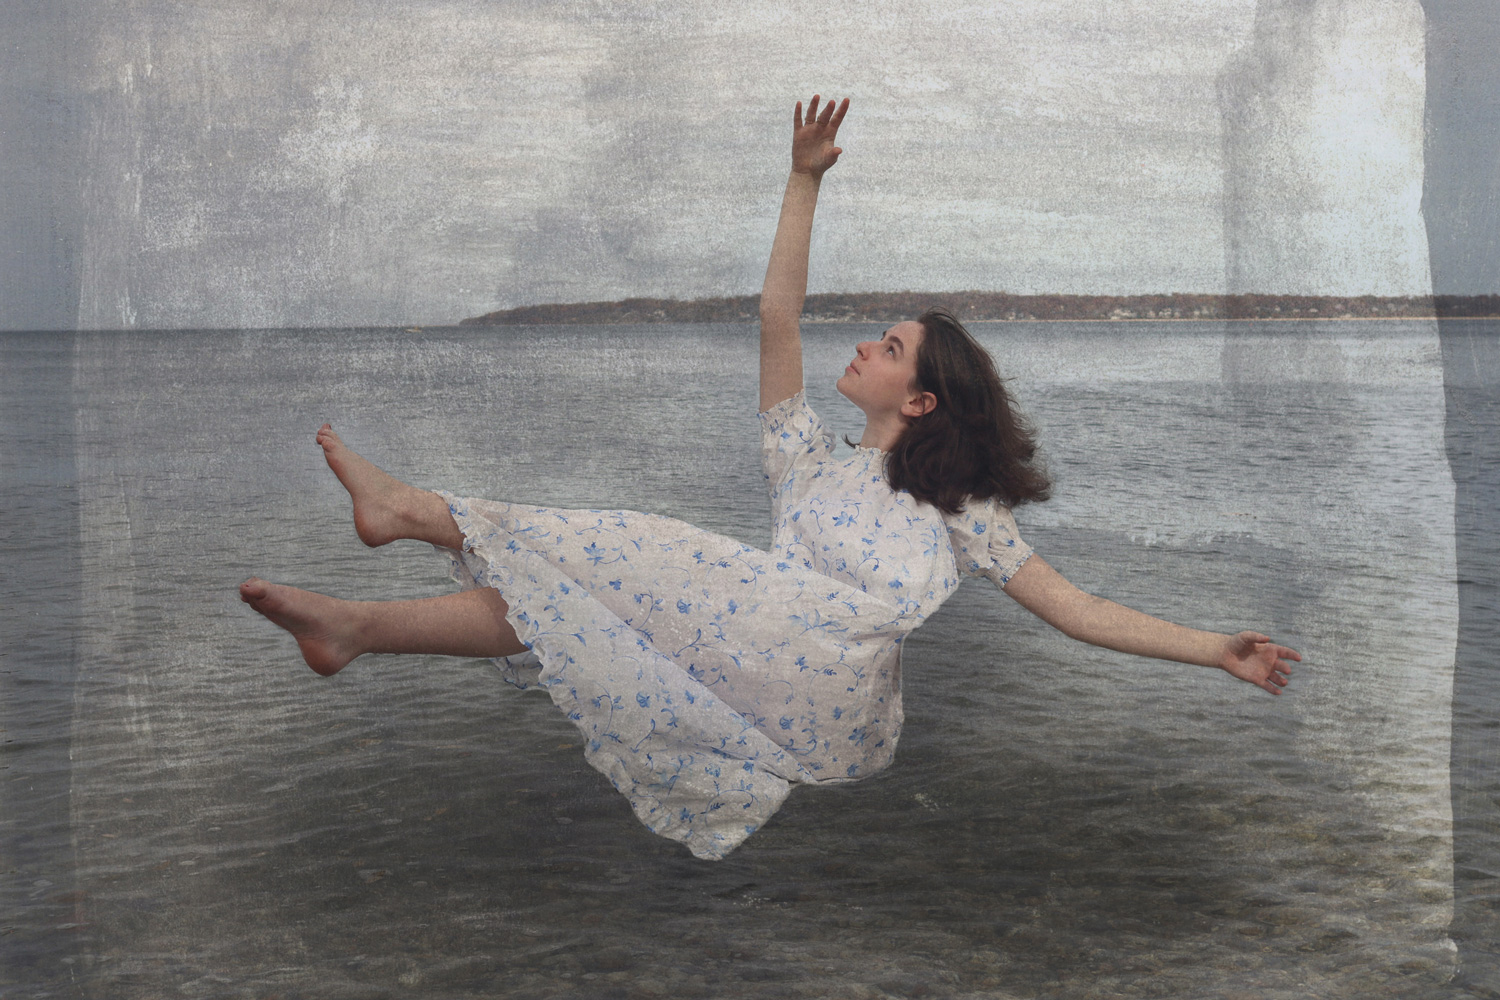
“Make sure your model makes contact with the environment in unique ways,” Mrs. Piffard told the students. “The idea is that if they’re floating up in the sky without any connection to the scene, it looks fake. But by making sure to get a shadow, reflection hand on the ground or even some hair failing it lets the viewer’s brain know ‘oh yeah, she’s there.’”
Students were told they should experiment “with supports of different shapes, sizes and angles. The universal key here is to get something with a low profile; think exercise bench. The less you have to take out, the easier it is.”
Students also learned about body language, the need to “get low,” weight distribution and clothing. “Don’t allow the model to look like they are just lying on the ground,” Mrs. Piffard said. “They need to be up high enough or you need to shoot from a low enough angle to make them look like they are really floating. Don’t let the shape of the support show. Drape something in front of it if needed. Don’t let the feet lie flat.”
For the assignment, students had to choose a model, find a location and choose a date and time for the shoot. They were
Students were asked to do the following:
• Shoot at least 10 images using two different set-ups/locations.
• For each set-up/location, students needed to have one photo of the background and four images of the person in varied levitation poses. “Don’t move the camera at all between shots,” Mrs. Piffard said.